Sun Room Part Three
Has it really been since October that I've posted about the sun room? Or in general? Jesus! I guess when I think about it- it turned cold outside and winter has lasted for 947 years. So there really was no way to be out there working when it was negative hell outside. But I've done a ton of stuff in the room the last few months, I just haven't gotten to the posting part of it. So sit down and kick your feet up. I'm about to give you at least 7 minutes worth of reading.
Last time we chatted about the sun room it looked like this- the floor was down, the ceiling was up and the walls had the first layer of plywood up.


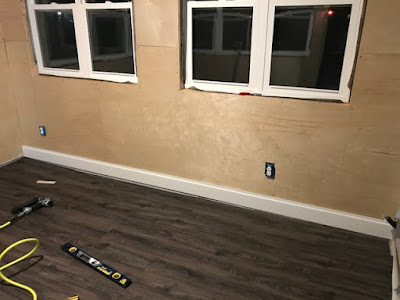


Last time we chatted about the sun room it looked like this- the floor was down, the ceiling was up and the walls had the first layer of plywood up.


The goal was to have the room finished by end of spring. I got an early start the beginning of March. The sun was out and it was what you could consider slightly warmer out. I jumped at the opportunity to get the wall boards outside and painted. I had gotten a Wagner paint sprayer and this was the first time I planned on using it. Let me tell you- SO WORTH IT! Like- I want to paint the most random things just to use it. It's ah-mazing!

So I set up shop on some saw horses and 2 X 4's out in the backyard and started painting.


There were a lot of boards- so this made it easy to get 4-5 boards painted at a time, move them to the 2 X 4's, and set up another 4-5 boards. It went pretty smoothly and quickly and I didn't have to paint them all by hand. Again, so worth it.
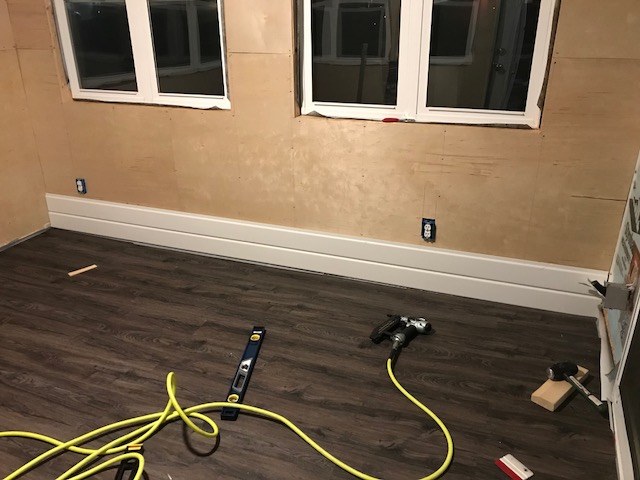
While they were drying, I worked on the floor. Oh, the floor. UGH. This is when bad things happen to good DIY people. So throughout the winter and the slightly warmer weather and then back to the freezing tundra- I noticed that the floor was having a lot of moisture on it. Enough that I could swipe my hand on the floor and it would be wet. In some places there were actual puddles. It was bad. Especially since I had a rug and some furniture in there on the floor. Talk about deflating. All winter long I wondered if I was going to be able to decorate this room with indoor furniture. I didn't want to deal with a wet floor and I already sold the outdoor furniture that had previously been housed in the screened porch. FML is what I was thinking. After a call to my dad and chatting with some workers at Menards, I ended up painting with a water proof concrete sealant (two coats cuz I'm ridiculous like that) and also laying down a vapor barrier. Fingers crossed- I don't get any water or moisture in there now. Cuz the floor is back down and it's not coming up again.
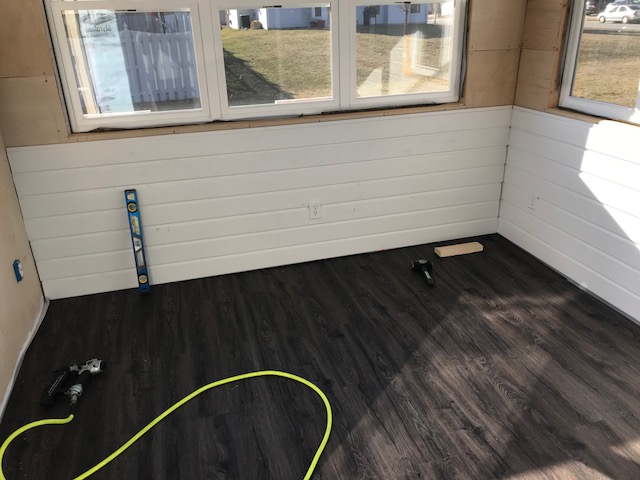
Next came the tongue and groove boards. And no- this isn't ship lap. Please don't call it ship lap. I don't ever want to hear ship lap again. Ever. I mean, I love those two but shit. Enough with the ship lap. Find a new wall treatment. Anyway- back to tongue and groove pine boards. Once they were painted I started getting them up onto the walls.


After the first few boards were up, it looked so much different! It was starting to really look like what I had envisioned. It almost made it worth the amount of time I spent going to multiple stores sorting the entire stocks of boards to find the perfect ones. Or just ones that weren't damaged. That was quite possibly the most ridiculous thing I've ever spent my time on.
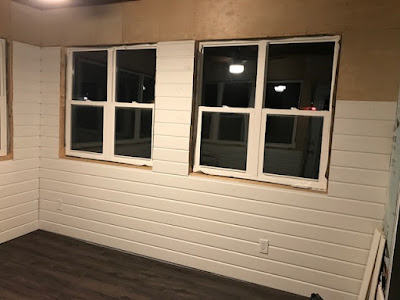
By end of day one it looked like this-

Figuring out those outlets was a bitch. Took me a lot longer than I wanted and a slew of curse words were thrown around. Maybe even some never before heard curse words. And I'm purposely not showing you a close up of the outlets. They are not pretty.
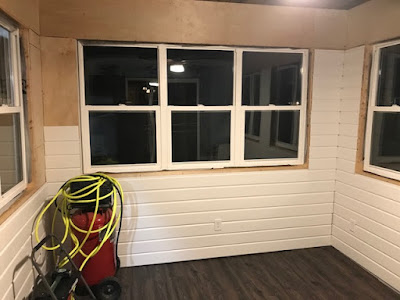
Day two went like this-


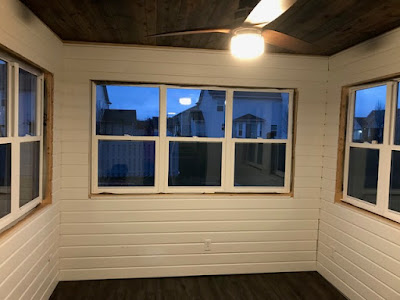
Two weeks later, I had some more time to work on the room. I finished the walls. Hells yeah!!


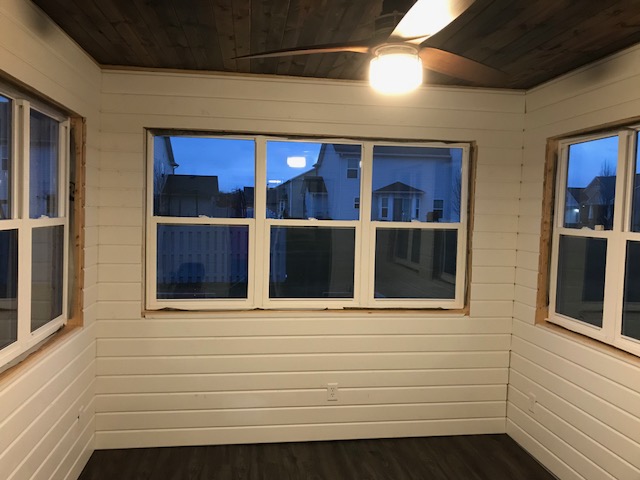


Guys- did you ever think I'd do white walls? On purpose? White walls equate to institutional walls to me. I have never wanted white walls. They drive me NUTS. But for some reason, I thought painting tongue and groove boards a color would look more like painted paneling- a la 1986. And I don't want this room looking like awful basement paneling. Which is also why I went horizontal with the boards. A little more contemporary and fresh.
Next up is trimming out the windows and casing them, casing the doors, and putting in the baseboards and ceiling trim. Then caulking. Lots of caulk. And can you guess how many inappropriate comments were made in the caulk aisle? LOTS. Cuz I'm a teenage boy. CAULK- so fun to say.


Comments
Post a Comment
Only comment if you are going to tell me how awesome I am. If you don't, I will hunt you down and cut a bitch.